Work in Progress: This article is currently being updated. Please check back soon for comprehensive information on building and organizing your electrical cabinet. Thank you for your patience!
The Objective
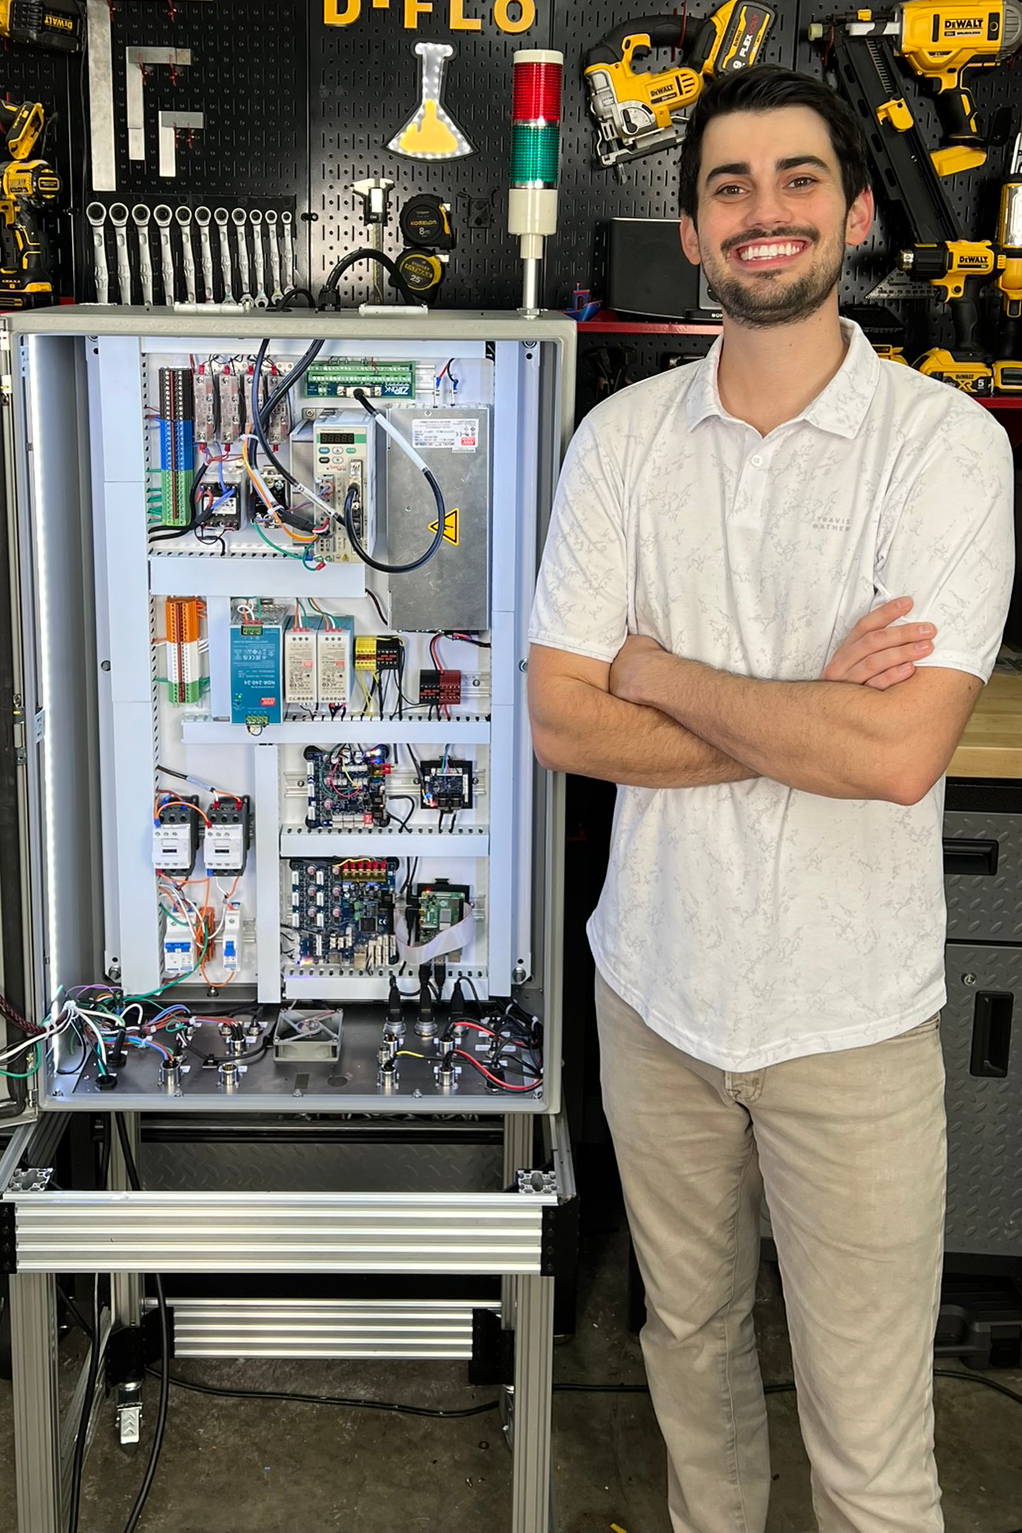
When you're diving into a DIY project to build your own electrical cabinet, whether it's for a 3D printer, CNC router, or any other CNC machine, it's crucial to invest the time and effort to create a clean setup. The main reason? Troubleshooting. If you miswire something or make a poor electrical connection, diagnosing the problem can become a nightmare. Is it your code? The machine configuration? Or the wiring? A clean and well-organized electrical cabinet eliminates one big variable, making it much easier to pinpoint and fix issues.
In my past YouTube videos, I'll admit, my wiring has often been subpar. With so many other tasks demanding attention in creating content, wiring frequently took a backseat. However, as I started working with more expensive electrical equipment, like my new MDPE10 extruder, I realized the stakes were much higher. A wiring mistake could fry this equipment, resulting in a serious monetary hit. My old electrical cabinet for the large format 3D printer was so cramped and messy that it was impossible to fit the new control components for the MDPE10. I had to start over, which made me realize that while I saved some time by not organizing initially, I lost a lot more time rebuilding the cabinet for the extruder upgrade.
So, I decided to invest the time and money to build a proper electrical cabinet. Now, I want to share these tips with you to help you avoid the same pitfalls and ensure your projects run smoothly.
Safety Warning: Mains wiring is very dangerous and can cause severe injury or death if not handled properly. Always unplug your equipment and ensure all power sources are disconnected before beginning any work on electrical components. Undersizing wires, connectors, or other electrical components can lead to excessive heat generation and potentially cause a fire. The advice and tips presented in this article are based on personal experience and are not CSA, UL, or CE certified. Always follow local electrical codes and consult a professional electrician if you are unsure about any aspect of your wiring project. Finally, there is some "do as I say and not as I have done" in this article.
5 Quick Tips
Before diving into the details of cabinet building, here are some quick tips for those in a hurry.
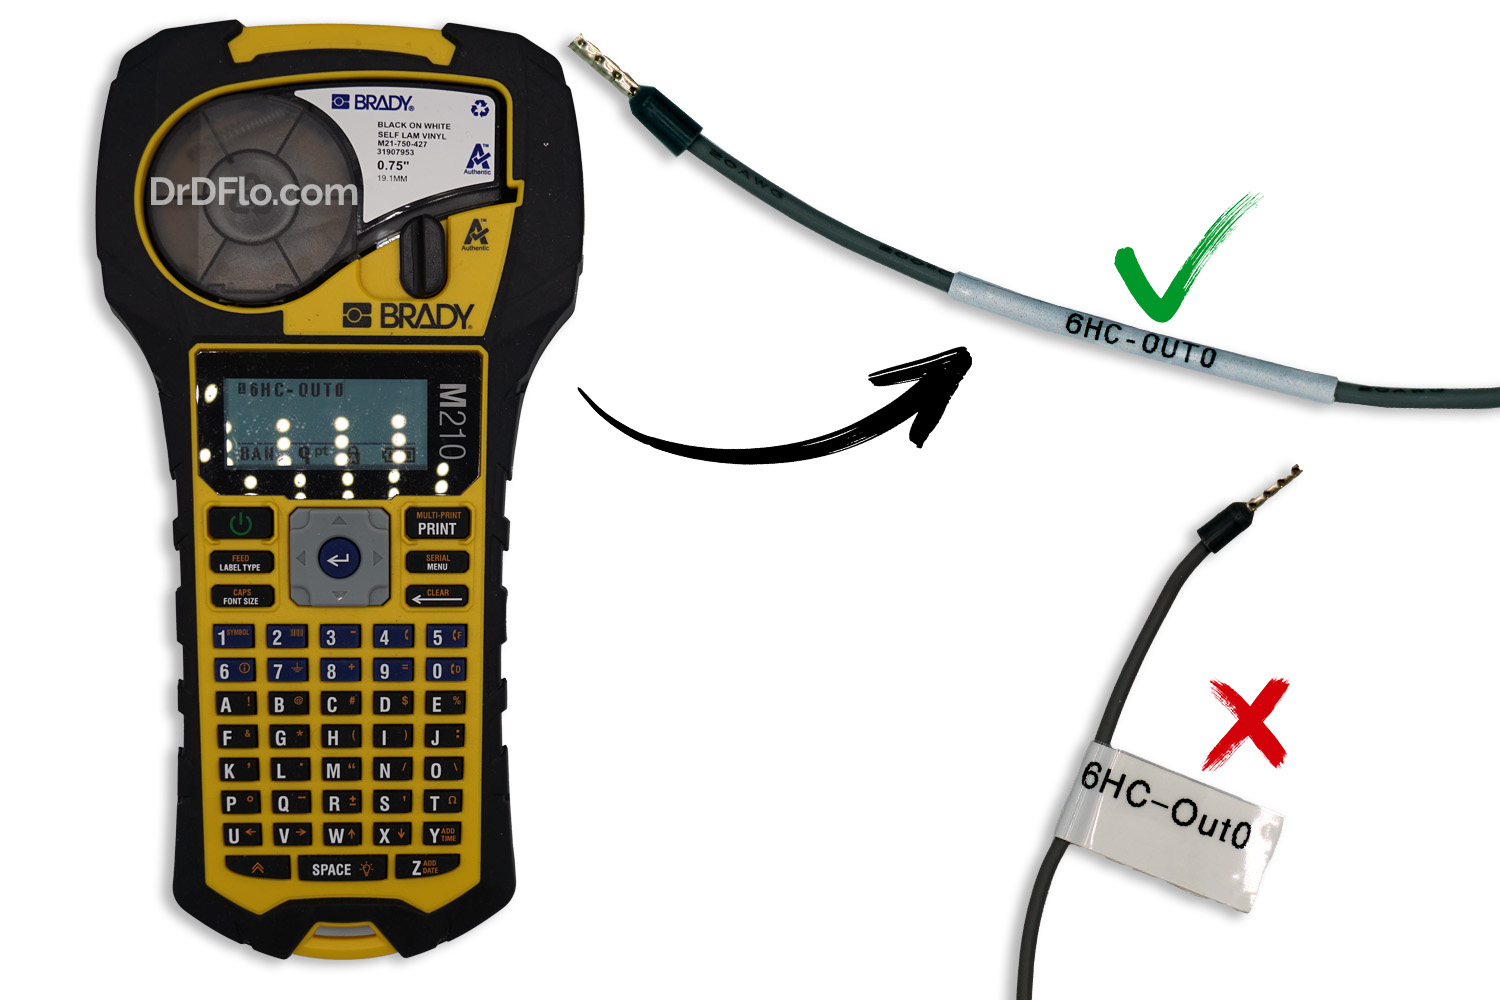
1. Label All Wires with Laminating Wire Wraps
Use a Brady M210 labeler for durable, professional wire labels that securely wrap around wires, unlike standard label makers that produce flag-like labels.
2. Color Code Wires and Terminals:
Color coding your wires and terminals helps maintain organization and ensures safety. Below are the standard colors that I follow for my cabinets that use a mix of AC and DC voltages:
- Blue: 220V Live 1
- Brown: 220V Live 2
- Orange: 110V Live
- White: 110V Neutral
- Green: GND
- Red: DC Voltage +
- Black: DC Com -
- Grey: Signal Voltage
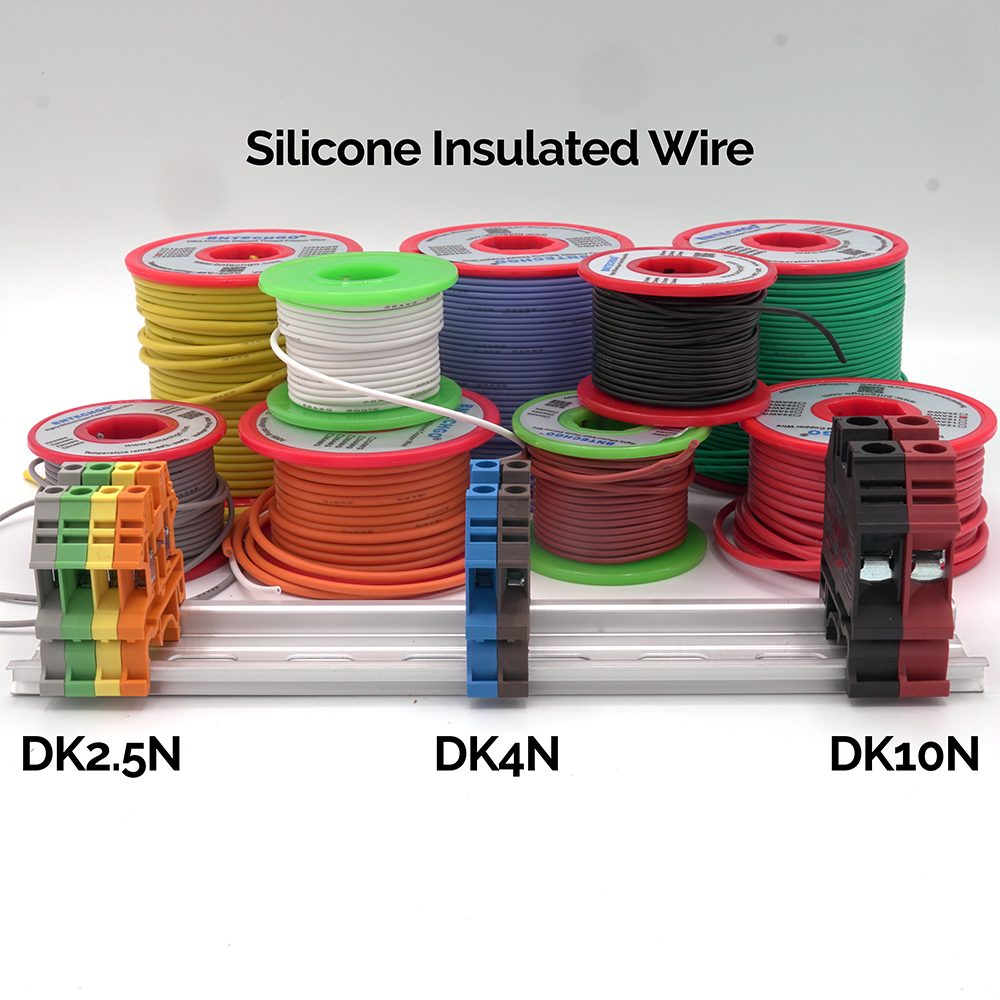
For easy-to-manage wiring, use silicone stranded wire. My favorite silicone stranded wire is flexible and handles well, making it ideal for a neat and efficient setup. You can find color-matched terminals by Dinkle, and here’s a quick nomenclature for buying terminal blocks for different amperages:
- DK2.5N: Suitable for wires up to 2.5 mm² (20 A)
- DK4N: Suitable for wires up to 4 mm² (30 A)
- DK10N: Suitable for wires up to 10 mm² (60 A)
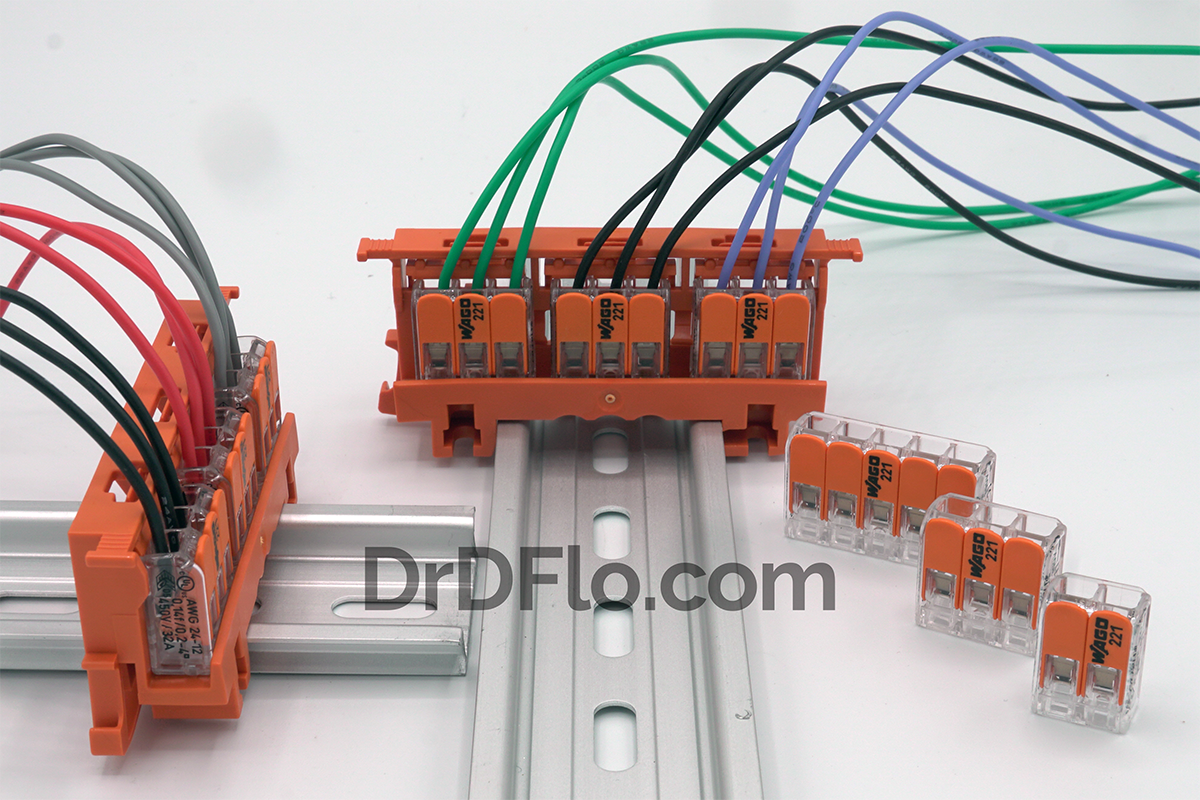
3. Use Wago Connectors for Quick Connections
Wago connectors are an excellent choice for quick and reliable electrical connections. They are low profile, allowing you to make connections without the bulk of traditional terminals. Additionally, Wago connectors eliminate the need for jumpering terminals to splice multiple wires together. For added convenience, use plastic Wago DIN mounts to secure them to DIN rails, keeping your setup organized and accessible.
4. Repurpose SSR DIN Rail Mounts with 3D Printing
Use SSR (Solid State Relay) DIN rail mounts in combination with 3D printing to easily mount components not traditionally designed for DIN rails. For example, you can 3D print a mounting bracket for a 3D printer controller board and bolt it to the SSR mount. This method provides a flexible and cost-effective way to securely mount various components within your electrical cabinet.
5. Use a Fiber Laser Cutting Service for Cutting Passthrough Plate
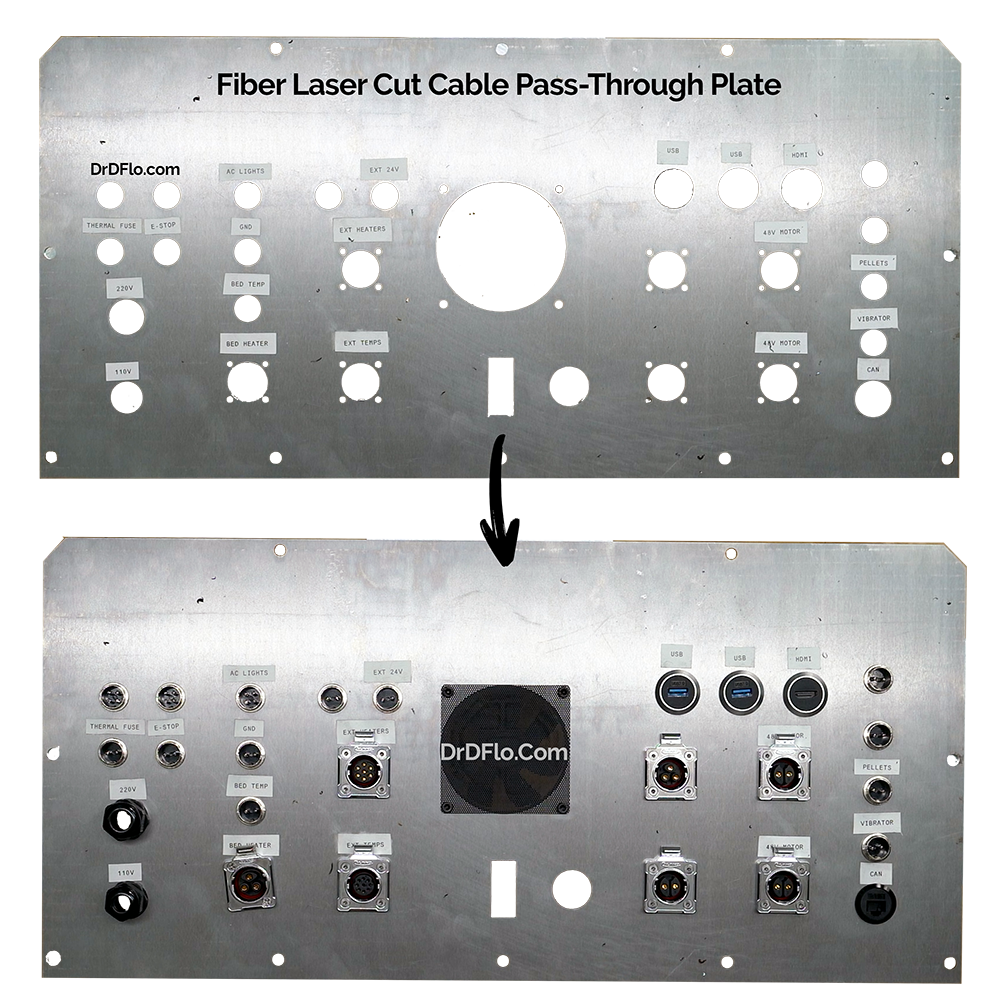
Instead of drilling holes into the thin sheet metal plate provided with your enclosure, use a fiber laser cutting service like SendCutSend or OSHcut (no affiliation). These services can precisely cut out holes for panel mount connectors, including those with more complex shapes like four-corner mounts. Additionally, consider cutting some extra holes into your CAD modeling/drawing for future expansion, which can be easily plugged if not needed immediately. Here are some of my favorite panel mount connectors:
- 16mm Aviation Connectors: Ideal for signal and low amperage power.
- Flange Socket Connectors Suitable for high amperage (up to 25 A)
- Cable Glands: Perfect for wires that are too complicated to splice or have a proprietary connector on the end.
- HDMI, USB, and Ethernet Panel Mounts: For easy and organized connectivity of these interfaces.
Planning

Clearance
The first step is to identify all the mission-critical components needed to make the machine function, such as the power supply, motor drivers, microcontroller, and other essential parts. Next, locate their datasheets. These datasheets provide crucial technical information, including the exterior dimensions of the components and, more importantly, the separation or clearance needed from other components to prevent overheating. This buffer space is often overlooked, but it is essential to avoid overheating and potential damage to your components.
For example, the Meanwell LRS-350 is very popular power supply for building 3D printers and other CNC machines (datasheet here). However, this is a heat-sensitive component where a 10-15 cm clearance must be kept when the adjacent device is a heat source. In fact, the manufacturer supplies a curve that shows the max power output of the PSU drops with increasing ambient temperature. This leads to another important tip: Avoid placing heat-sensitive items near large heat producers. Heat-sensitive items also include microcontrollers, sensors, capacitors, and batteries. Heat producers include power supplies, motor drives, power resistors, relays, solenoids and voltage regulators.
Safety Devices
While you have the datasheets out, check the power requirements of each component.
Next, identify the necessary safety electrical components. Below is a list of common safety components found in nearly every electrical cabinet and a brief description of how to select the correct one:
-
Circuit Breakers: Automatically interrupt the electrical flow in case of an overload or short circuit, providing reusable protection.
- Selection: Size the breaker at 125% of the continuous load. Ensure the voltage rating matches the system and choose the appropriate curve type (B, C, or D) based on the load characteristics.
- B Curve:
- Applications: Low inrush current, residential lighting, and general outlets.
- Example: Home lighting system.
- C Curve:
- Applications: Moderate inrush current, small motors, and commercial equipment.
- Example: Office air conditioning unit, desktop 3D printers.
- D Curve:
- Applications: High inrush current, large motors, industrial machinery.
- Example: Industrial motor.
- B Curve:
- Selection: Size the breaker at 125% of the continuous load. Ensure the voltage rating matches the system and choose the appropriate curve type (B, C, or D) based on the load characteristics.
-
Contactors: Electrically controlled switches used for switching a power circuit, providing control over high-power devices.
- Selection: Choose a contactor with a current rating higher than the maximum load it will control. Consider the coil voltage (AC or DC) and the type of load (resistive or inductive).
Work in Progress: This article is currently being updated. Please check back soon for comprehensive information on building and organizing your electrical cabinet. Thank you for your patience!
Open-Source Content
Dr. D-Flo’s #1 priority is ensuring uninterrupted access to his digital fabrication content for everyone. Information and project files are free without any intrusive advertisements. The goal of this website and YouTube channel is to inspire more makers, DIYers, machinists, fabricators, and engineers as we need physical solutions for many of the problems facing our society.
If you find yourself in a position to contribute, we would greatly appreciate your support through becoming a YouTube channel member, a one-time donation, or purchasing your tools through Dr. D-Flo’s Amazon store.
Let's Keep Talking About Electrical Wiring
If you have any questions or need further assistance, please visit our forum where you can find detailed discussions and expert advice on screw extrusion.