Cost:
$7.8k
Time:
6 Months
Project Overview
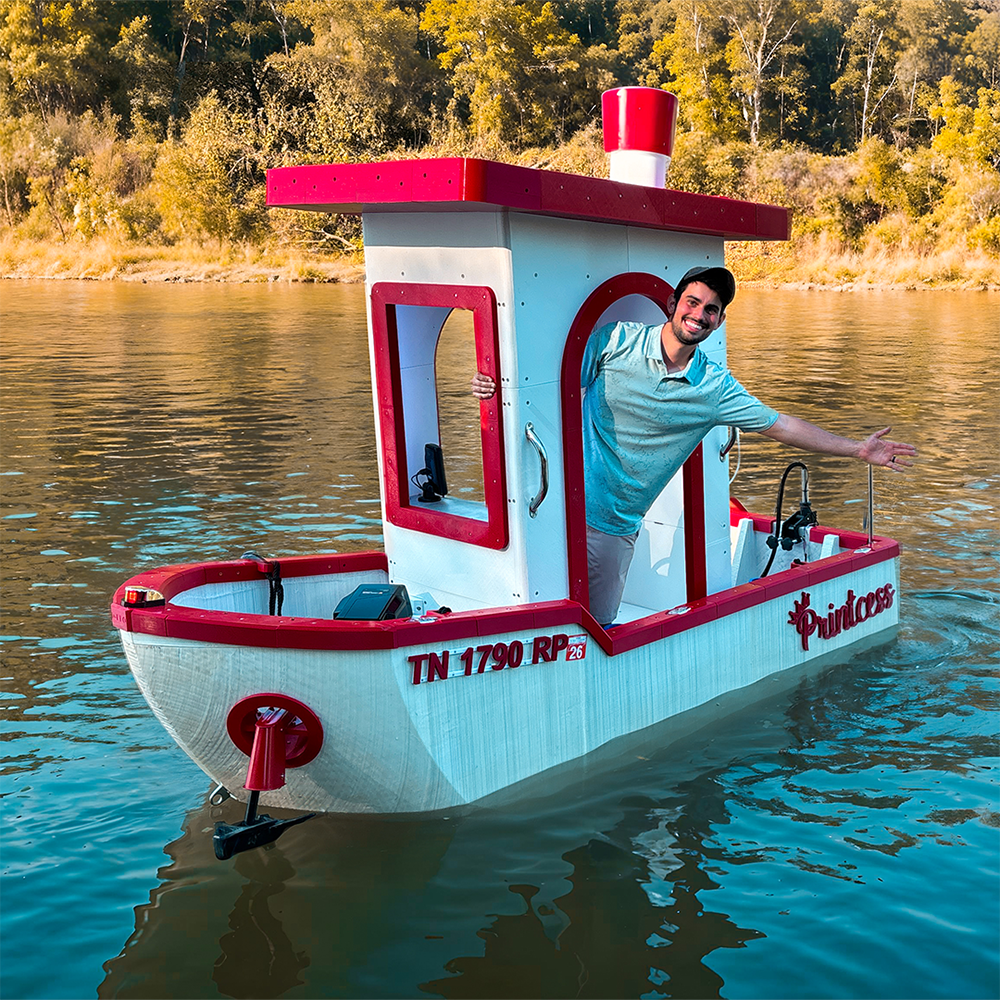
The #3DBenchy model has become something of a legend in the 3D printing world—it’s a fun test print, a standard for tuning settings, and a symbol of what’s possible with this technology. Somewhere along the way, I (and many others) started to wonder: could this iconic model be scaled to a full-size, functional boat?
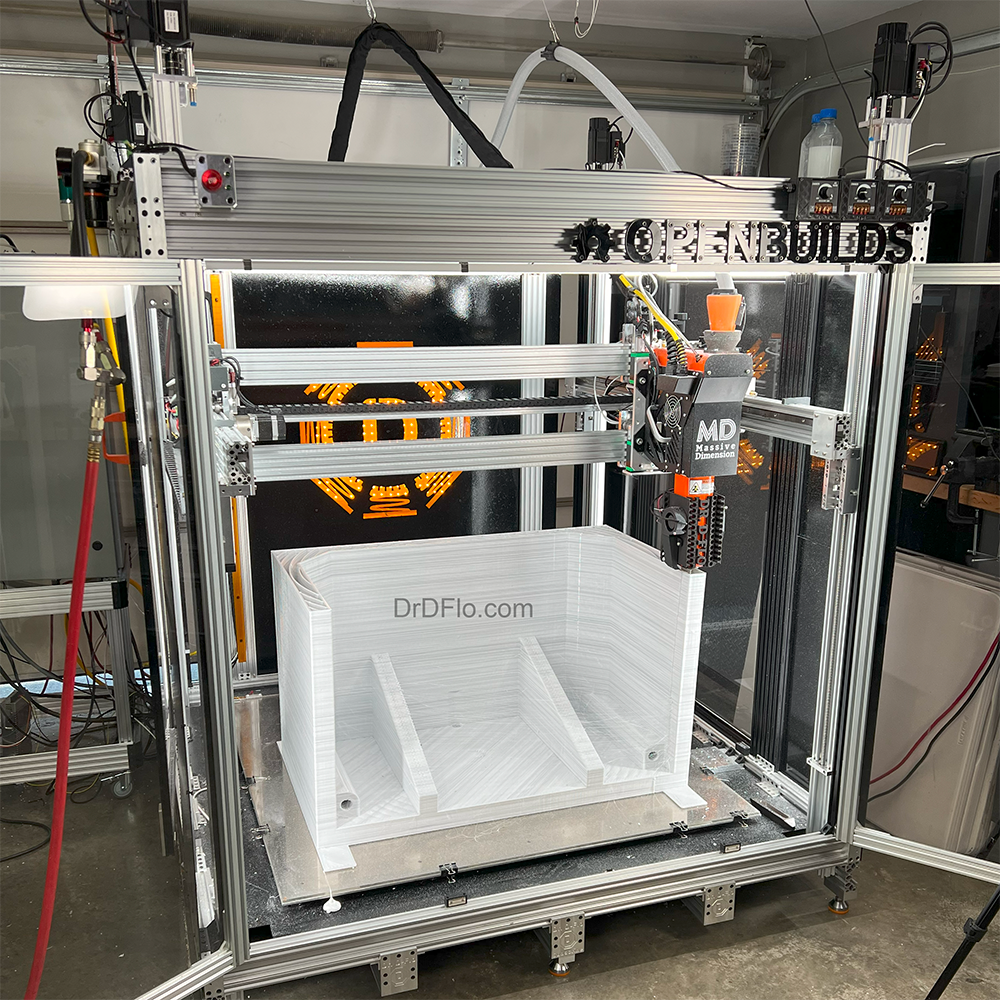
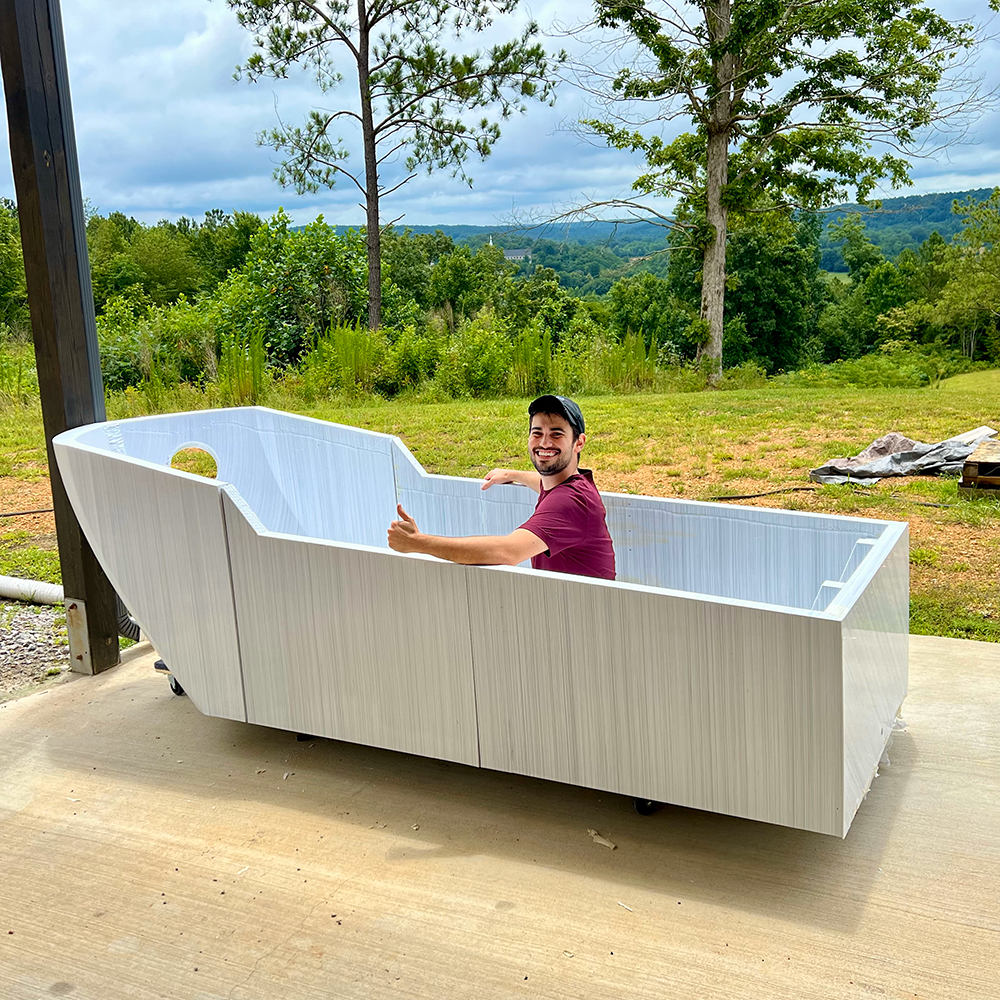
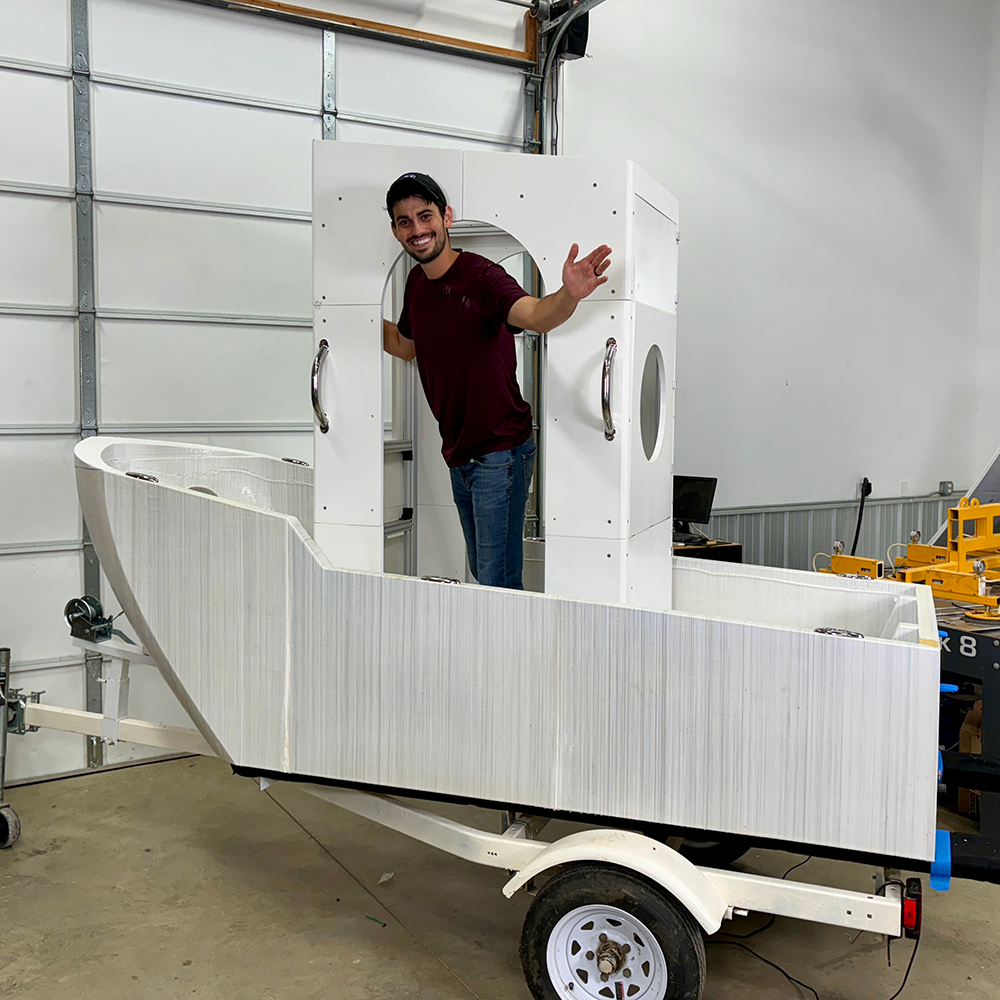
That’s where the PRINTcess project began. About 2.5 years ago, I started working on the first piece of the puzzle: a large-format 3D printer with a 1 m3 build volume. It took several iterations before this printer could extrude enough material to print the boat in a reasonable amount of time. My current version is able to print 200 pounds (90 kg) per day using a MDPE10 extruder and quick rack-and-pinion actuators. The 500 lb hull was printed in 3 separate pieces, measuring 3.3 ft wide and 10 ft long in total.
With its exaggerated, Steamboat Willie-esque proportions, Benchy was always going to make for a cartoonish, larger-than-life vessel. Early on, I decided to embrace the novelty, leaning into the fun rather than aiming for practicality. The most challenging obstacle was bringing to life the oversized cabin, which is what keeps the smaller model from floating upright.
Learn how I tackled these challenges, and 3D printed the iconic Benchy model at full scale with the PRINTcess YouTube Video. Below, you’ll find detailed information on the costs, print settings, and the adjustments I’d make if I were to take on this project again.
Specifications
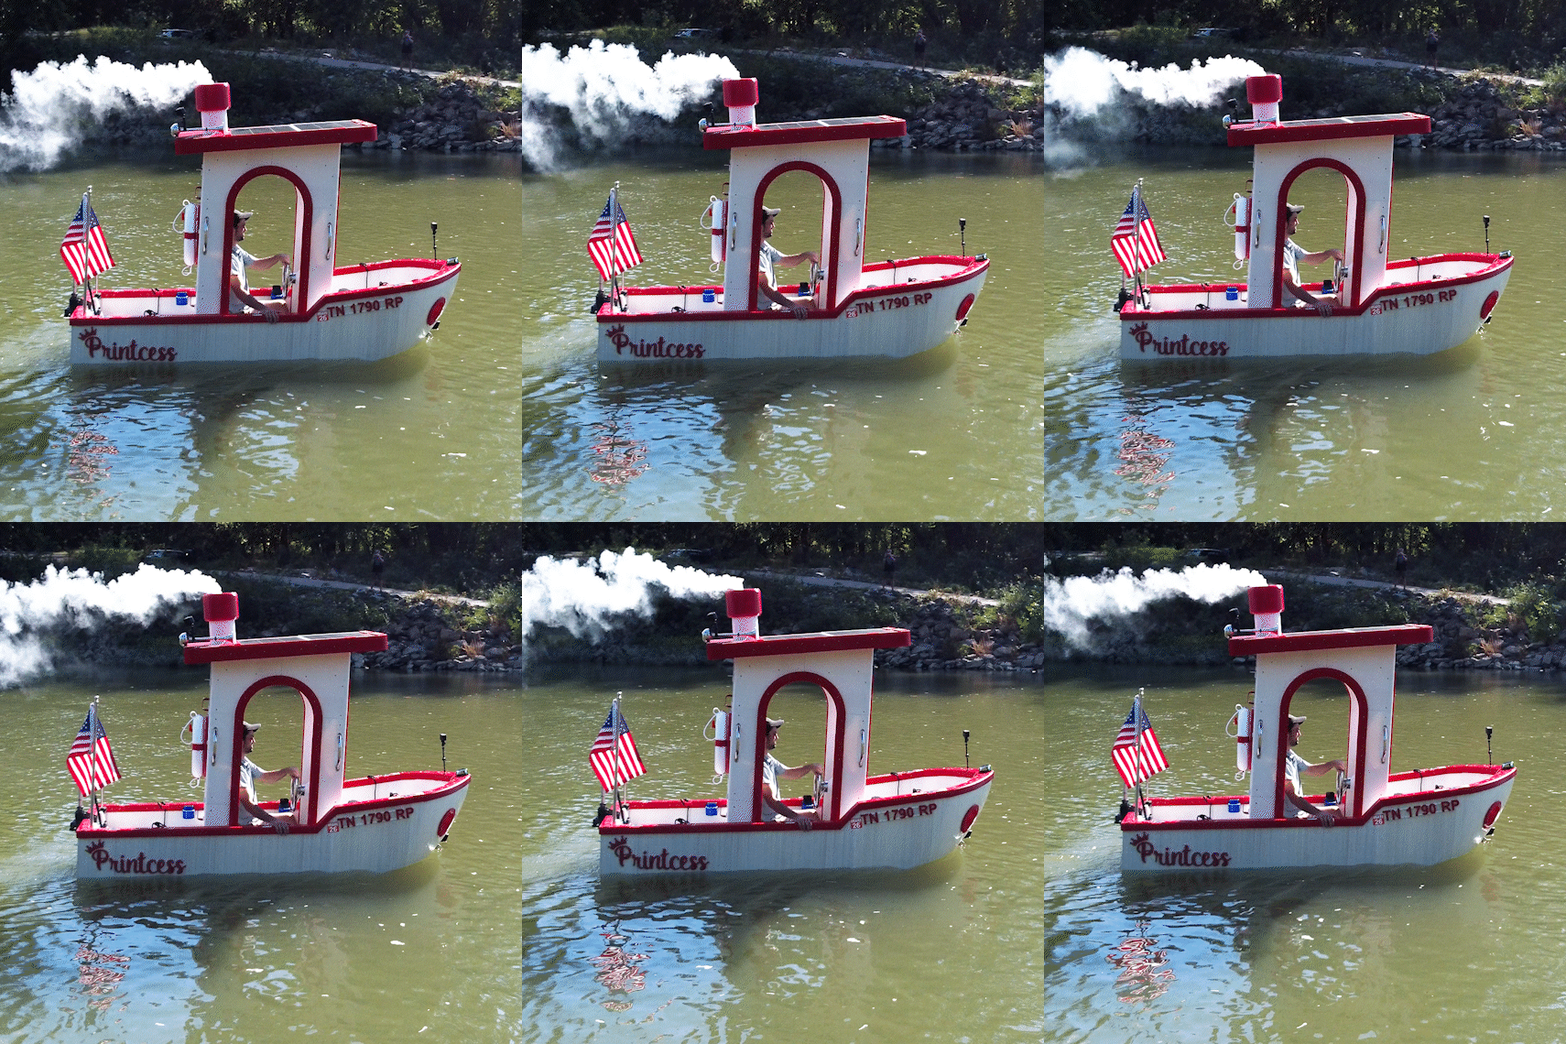
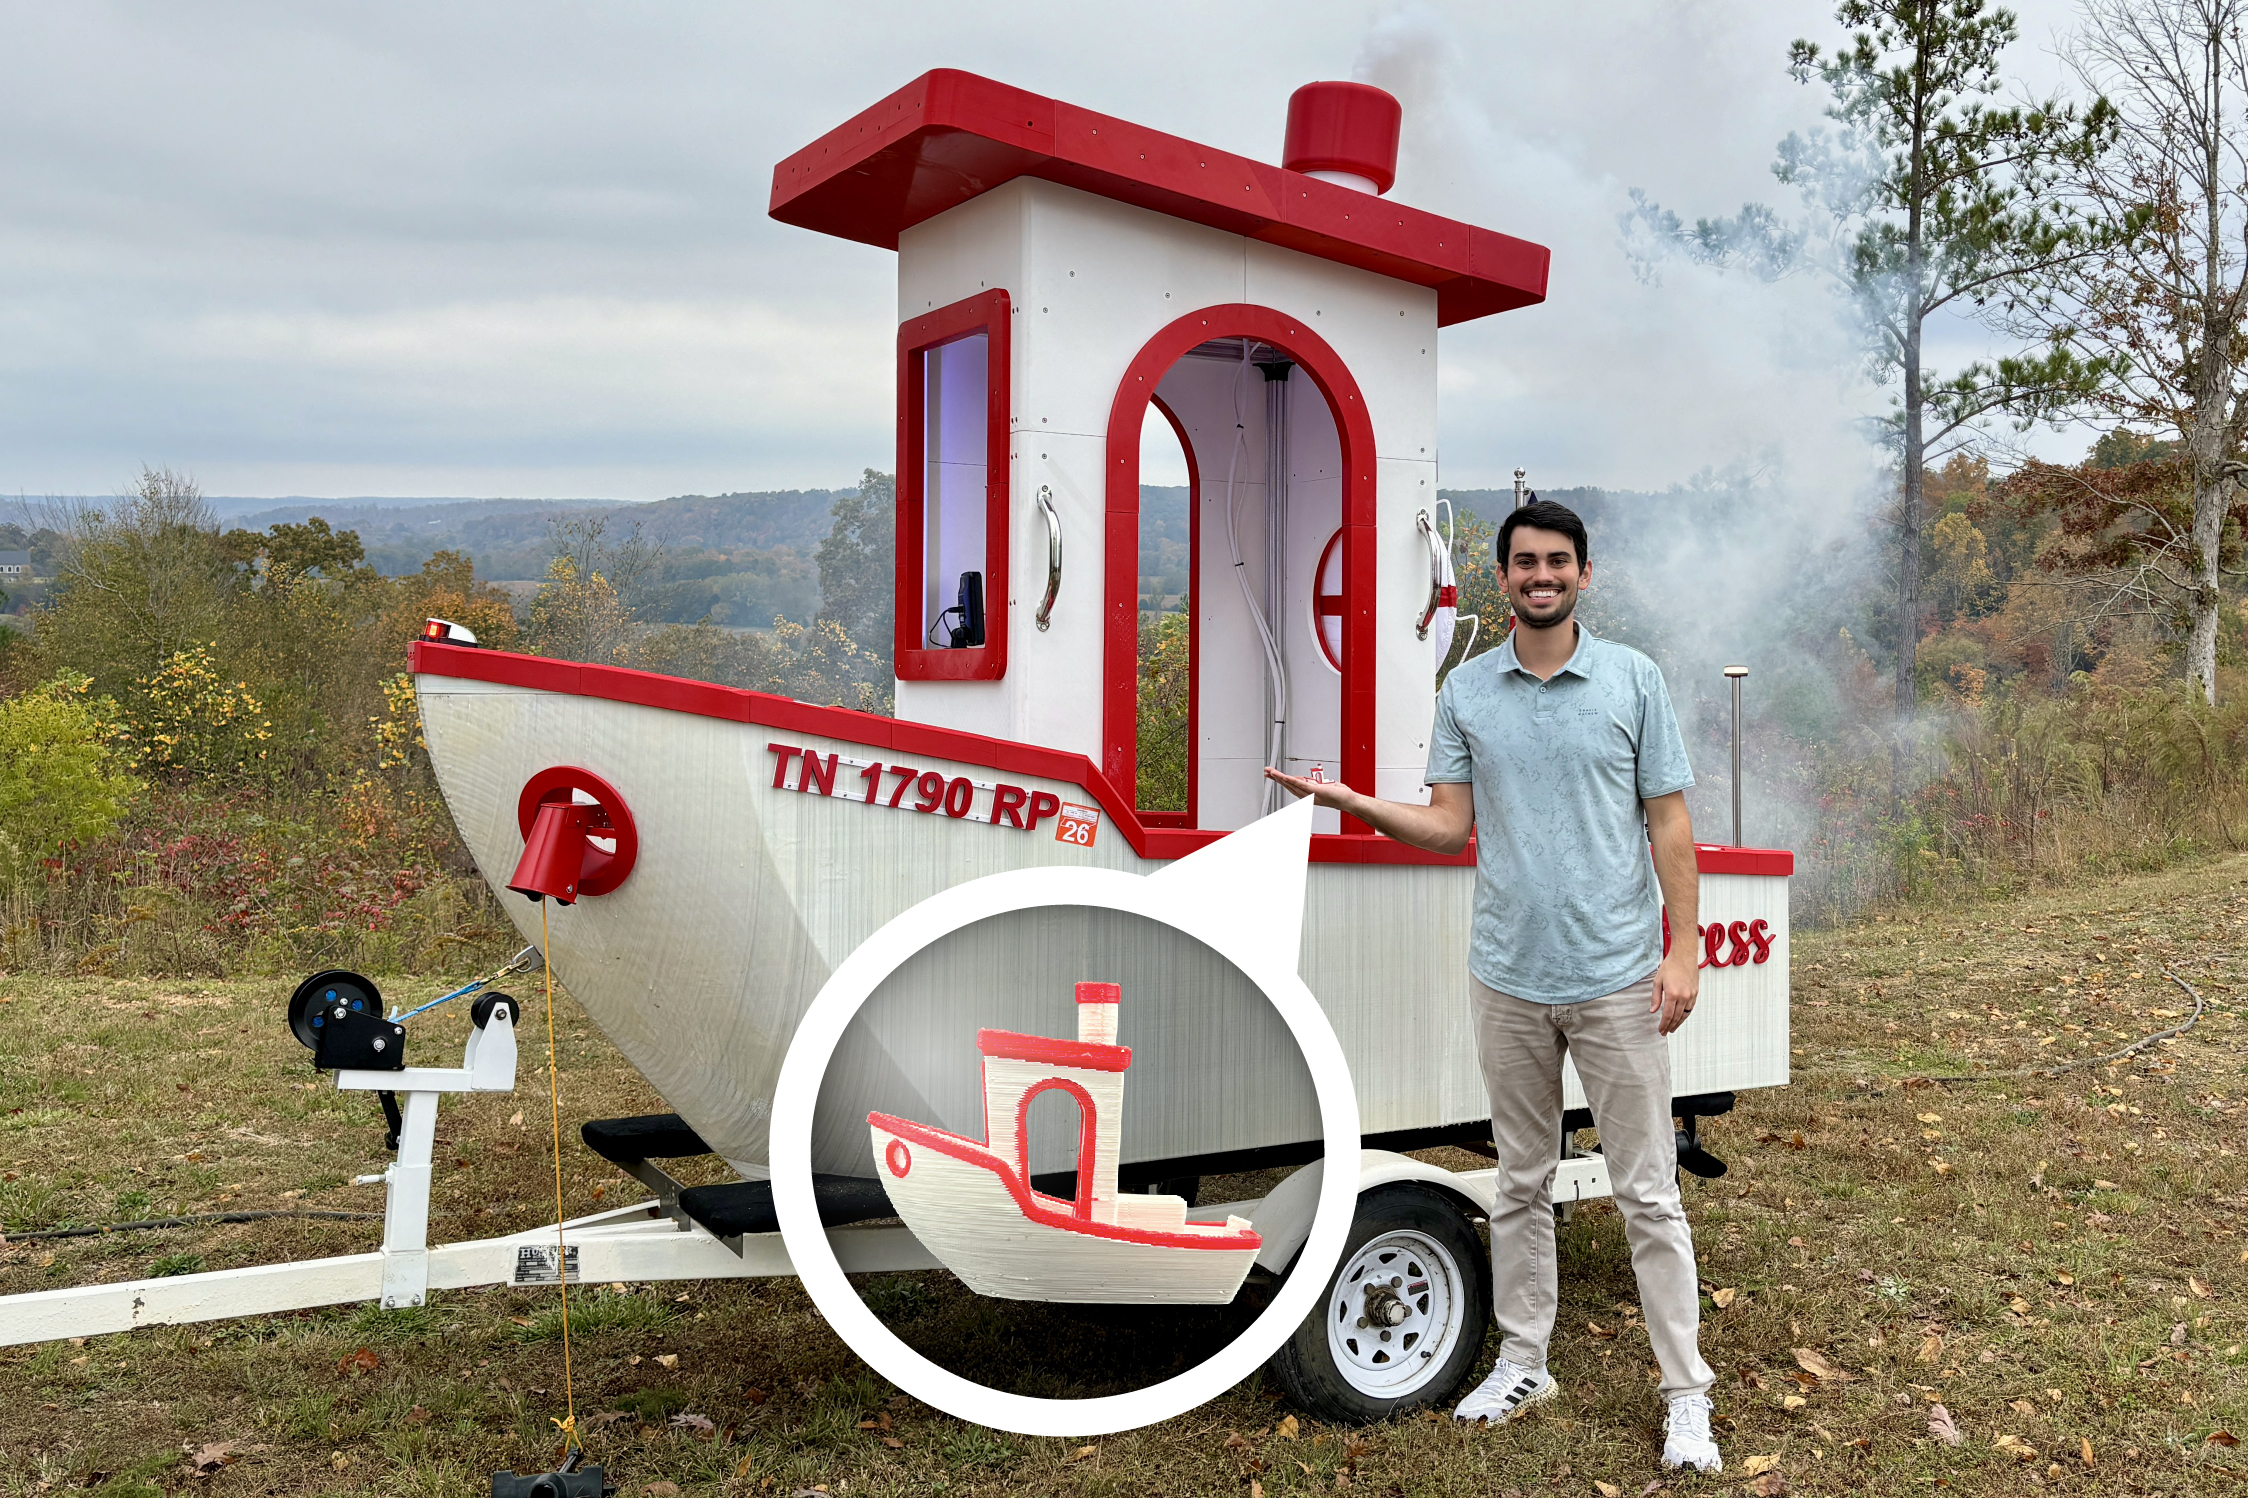
- Dimensions: 10' Length x 3'4" Width x 8'1" Height
- The PRINTcess is a 45:1 scale version of the Benchy model.
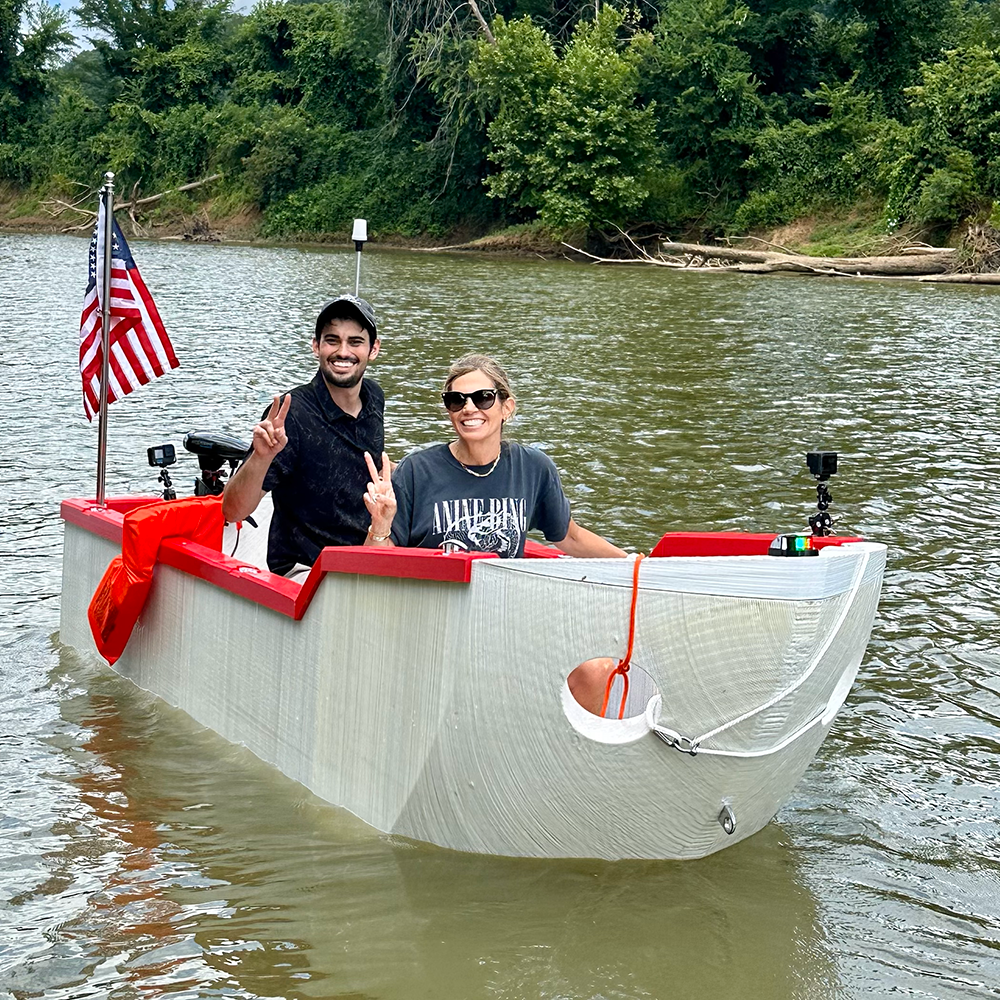
- Draft: 14" (w/ 2 people)
- This vessel sits shallow in the water, making it suitable for calm lakes and shallow waters.
- Weight: 1200 lbs
- This wieght includes a 400 lb concrete keel that runs along the bottom of the hull.
- Material: Recycled PETG
- While PETG isn’t the ideal hull material due to its flexibility, requiring added thickness for the desired stiffness, it’s a step towards more sustainable manufacturing. Made from recycled PETG, this hull showcases how repurposed materials can be used in large-scale 3D printing projects
- Propulsion: 2 Hp Electric Trolling Motor
- This motor provides enough thrust for leisure rides, allowing the boat to glide smoothly without excessive noise or emissions.
- Power: 2x 12V 100Ah Mini LiFePO4 Lithium Batteries and 200W of Solar Panels
- This setup extends battery life on the water, providing an extra 25% of range every 4 hours in the sun.
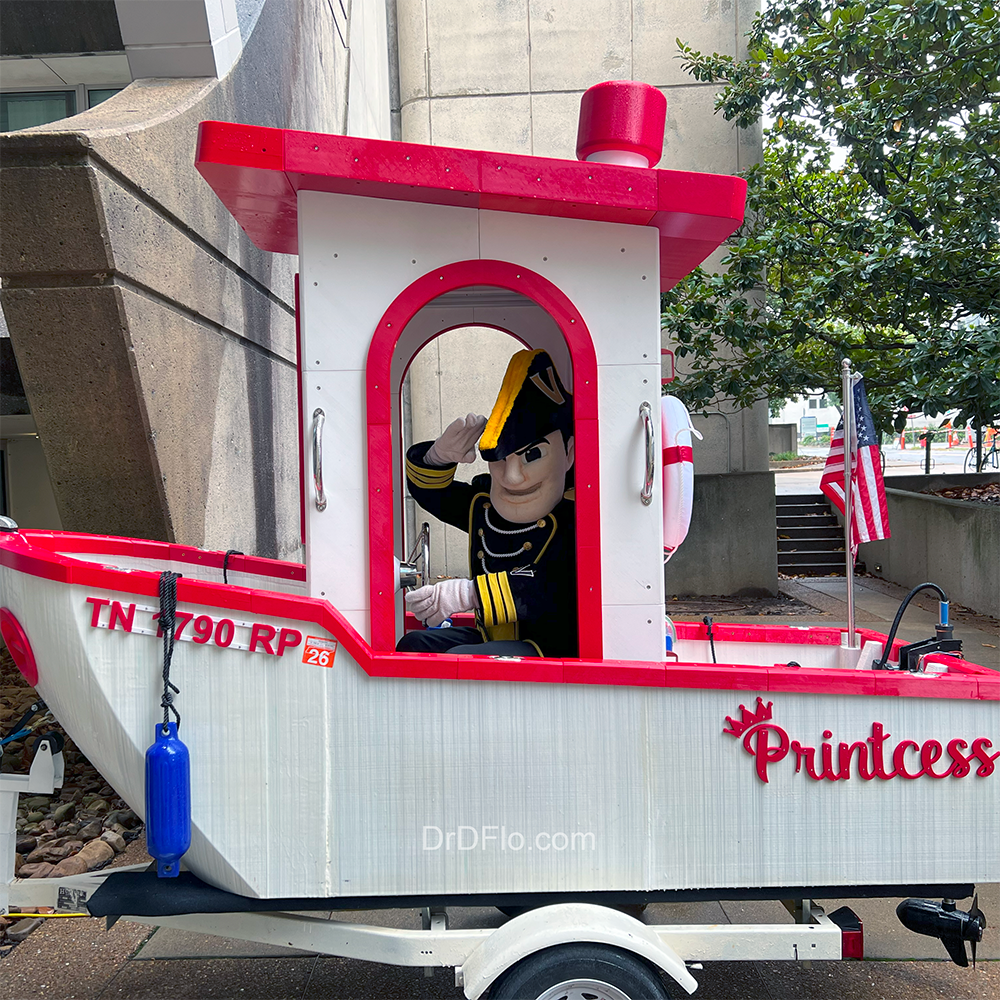
- Registration: Tennessee
- This boat is equipped with navigation lights and meets all safety requirements for full registration in the state of Tennessee.
3D Printing
Hull Printing
Most examples of large-format 3D printing are vase mode prints (i.e., single, continuous extrusion) of pots, chairs, and tables—and I’ve printed plenty of these models myself! Large-scale printing requires a printhead capable of extruding large quantities of material, which is where the pellet extruder comes in. If you're curious about how they work, check out my article explaining how pellet extruders can melt anywhere from a few kilograms to hundreds of kilograms per hour, depending on their size.
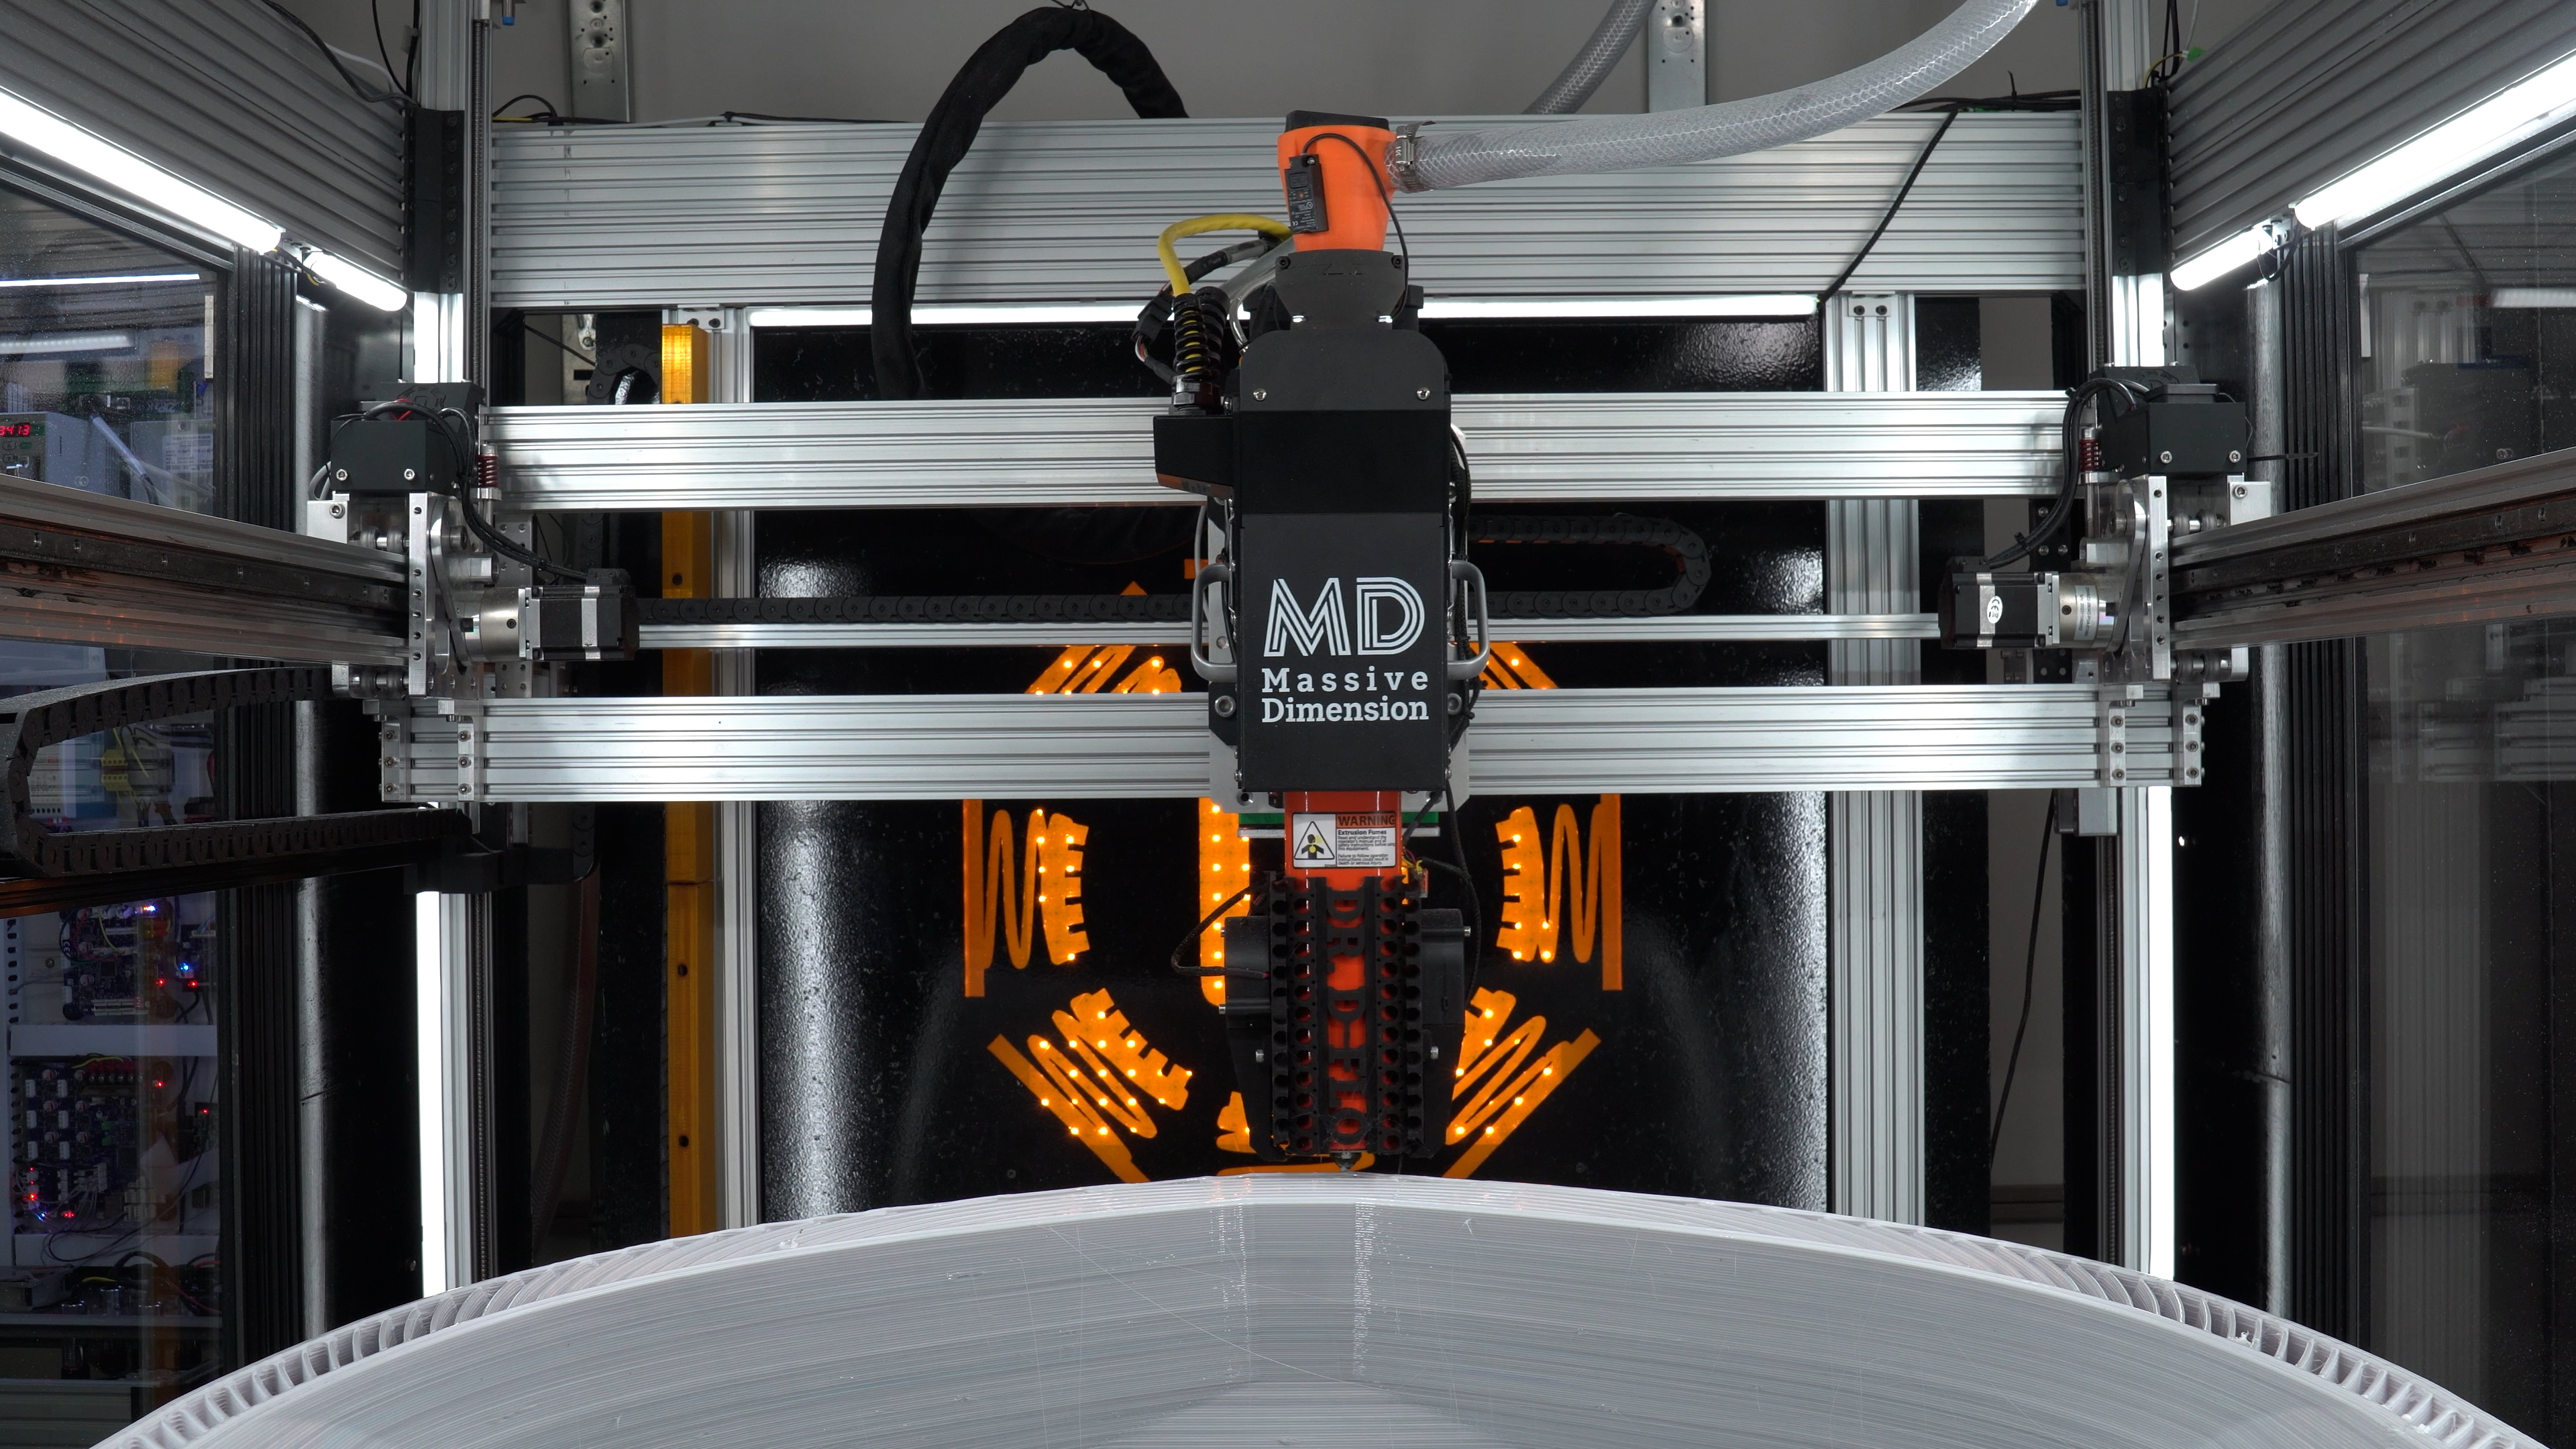
It’s important to note that the same mechanism enabling this high-volume extrusion can make it challenging to print detailed features, as you might with a desktop 3D printer. Specifically, large pellet extruders can struggle with moving between separate features without stringing or oozing. With smaller extrusion widths, you can remove excess material with flush cutters or a heat gun, but large accidental blobs cool into obstacles that can interfere with the printhead’s movement—often causing crashes or even detaching the part from the build plate. Further, the pressure profile in a screw extruder is more complicated than a filament extruder, making it difficult to compensate for with pressure advance or coasting.
There are additional challenges inherent to large extrusion widths, particularly when printing with materials with low melt viscosity, like PETG (used for the boat). Large extrusion widths retain heat longer, which increases the likelihood of sagging when printing overhangs or across sparse infill areas where the material doesn’t have immediate support. Moving beyond single continuous extrusion prints opens up a wider range of possibilities—but it requires careful tuning of the printer and slicer settings.
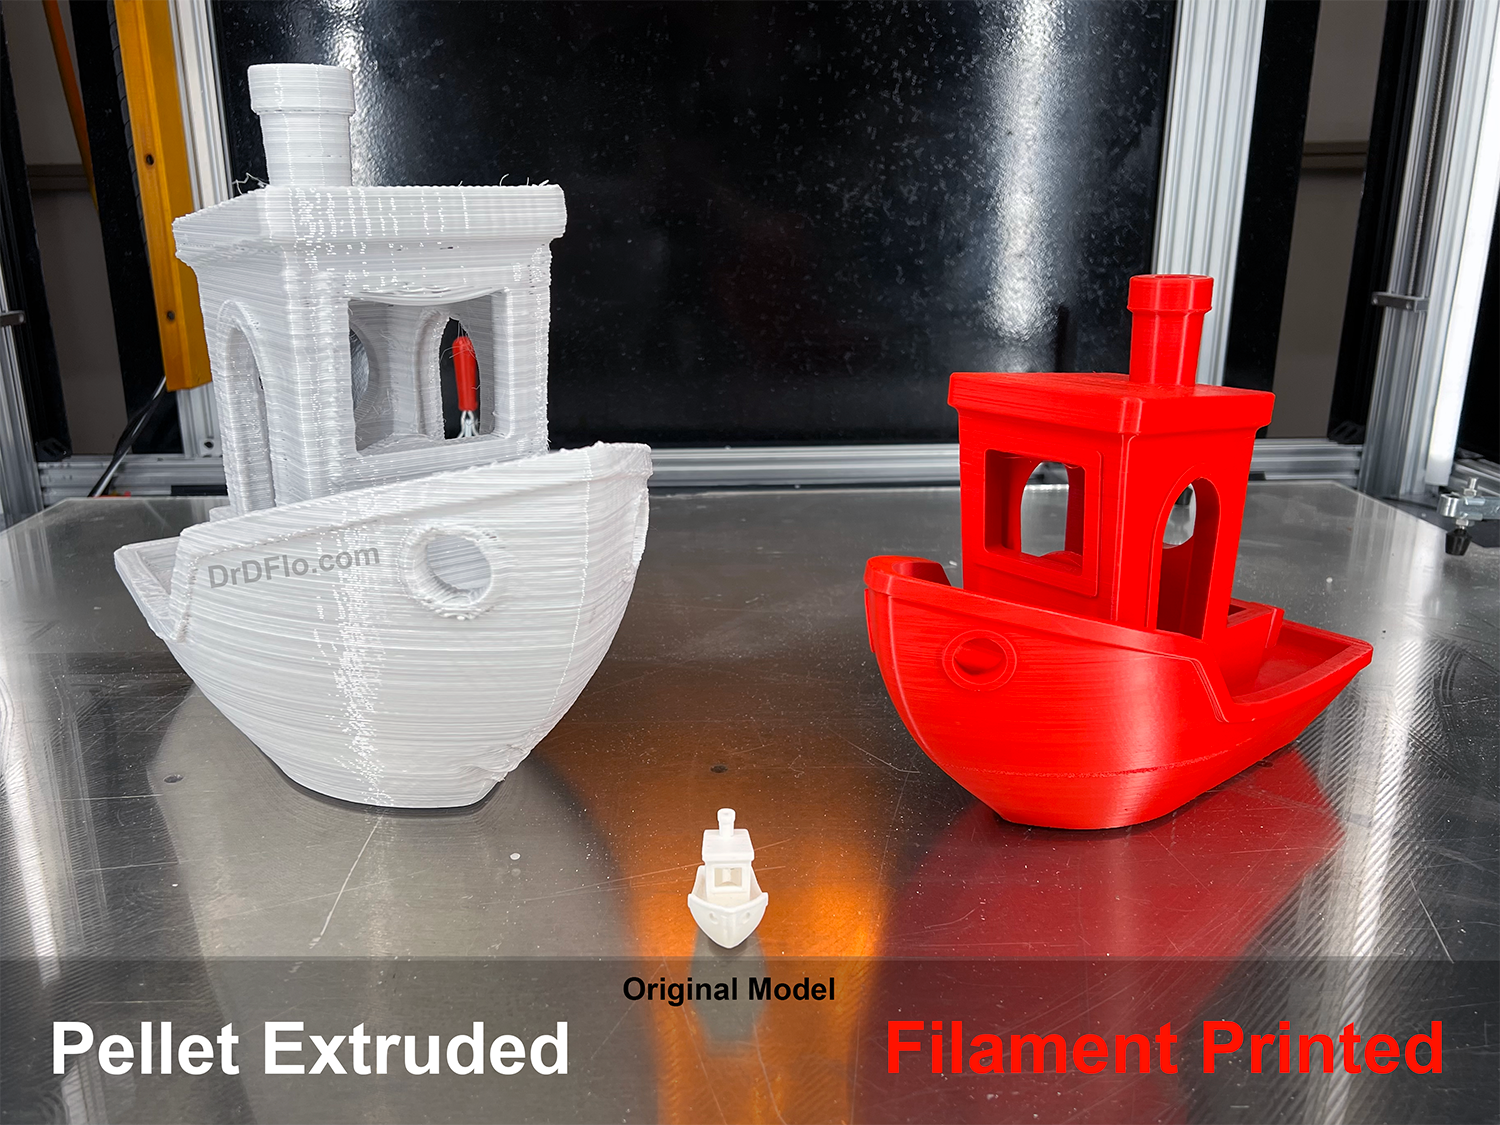
In Part 7 of my Large Format 3D Printer build series, you’ll see how I fine-tune my print settings to achieve the best possible quality from the pellet extruder. While this approach won’t quite match the precision of filament printing (see above image), I’m pleased with the results especially considering that most commercial large-format printers still rely on single continuous mode. I believe that printing the hull with multiple perimeters for watertightness and using infill for lightness marks a significant step forward in large-format 3D printing (at least in the DIY space).
A common criticism I’ve received is that I didn’t scale up the Benchy model exactly. Instead, I created a look-alike with some modifications, making it, as some would say, an ‘imposter.’ The most noticeable difference is that the hull doesn’t taper as much from the gunwales to the bottom and from bow to stern. Increasing the taper would have reduced displacement, resulting in a less stable vessel, and would have made the hull more challenging to print. With limited resources, I chose to go with a modified hull design to ensure printing success. Additionally, since the captain has to sit while piloting, I lowered the bow tip to maintain a clear line of sight from the cabin.
Large Format Print Settings

The print settings for the hull sections are:
- Print Speed: 100 mm/s (visible features: 75 mm/s)
- Extrusion Width: 3 mm
- Layer Height: 2 mm
- Infill: 13% Archimedean Chord
- Archimedean chord is the longest, most continuous infill, which minimizes non-printing moves. Infill geometries that intersect themselves in the same layer (e.g., adaptive cubic) cannot be used.
- The hull switches from 13% to 26% infill when the curvature of the bow starts to better support the internal overhang (.GIF above).
- Perimeters: 2
- Top/Bottom Solid Layers: 4
- Pellet Extruder Temperatures:
- Meter (Nozzle): 205°C
- Compression (Middle Section): 195°C
- Feed (Back Section): 185°C
- Feed Throat: 50°C
- Bed Temperature:75°C
- Cooling Fan Speed: 0, except for bridging: 100%
- Disabling cooling allows the extruded material to stay hotter for longer, increasing layer bonding for stronger parts.
Print times and total material consumed for each hull section:
- Stern
- Material: 77.6 kg (171 lbs)
- Print Time: 2 days 17 hours
- Middle
- Material: 62.5 kg (138 lbs)
- Print Time: 2 days 4 hours
- Bow
- Material: 75.2 kg (165 lbs)
- Print Time: 2 days 17 hours
- Tip of Bow
- Material: 4.6 kg (10 lbs)
- Print Time: 4 hours
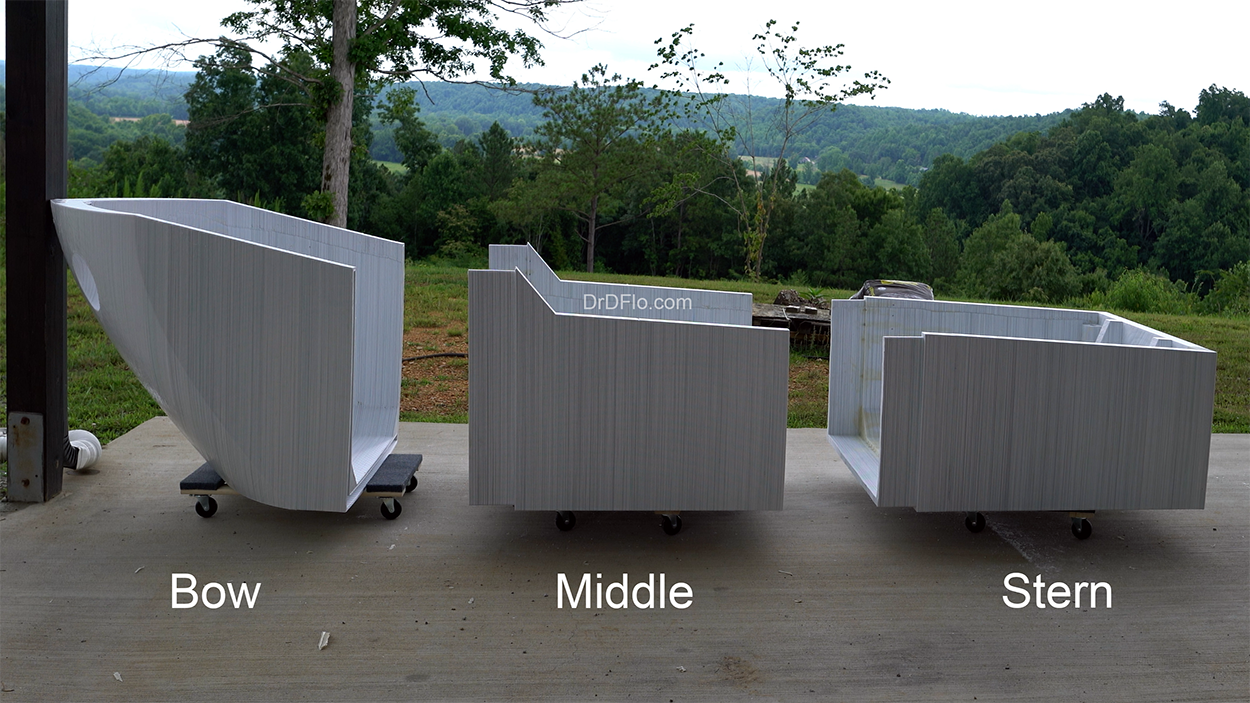
The total print time was 7 days and 18 hours, consuming 220 kg (485 lbs).
Cabin Printing
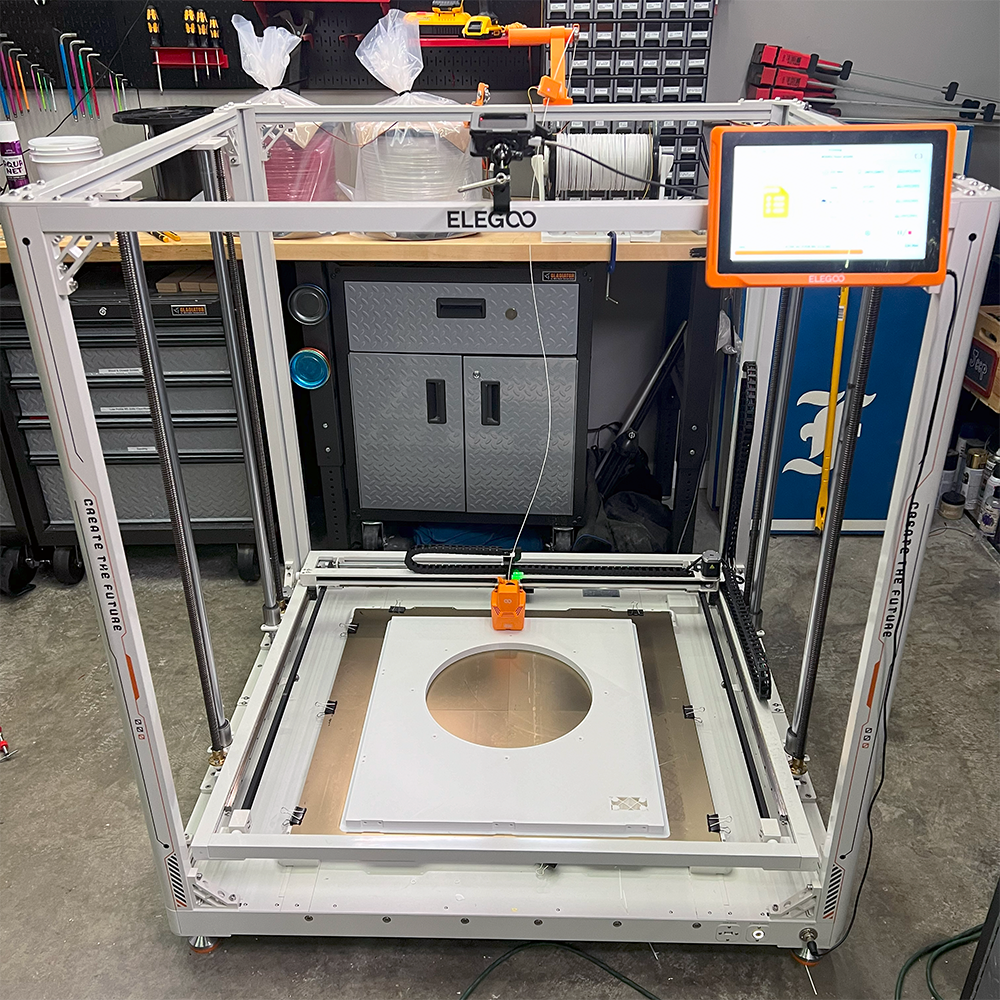
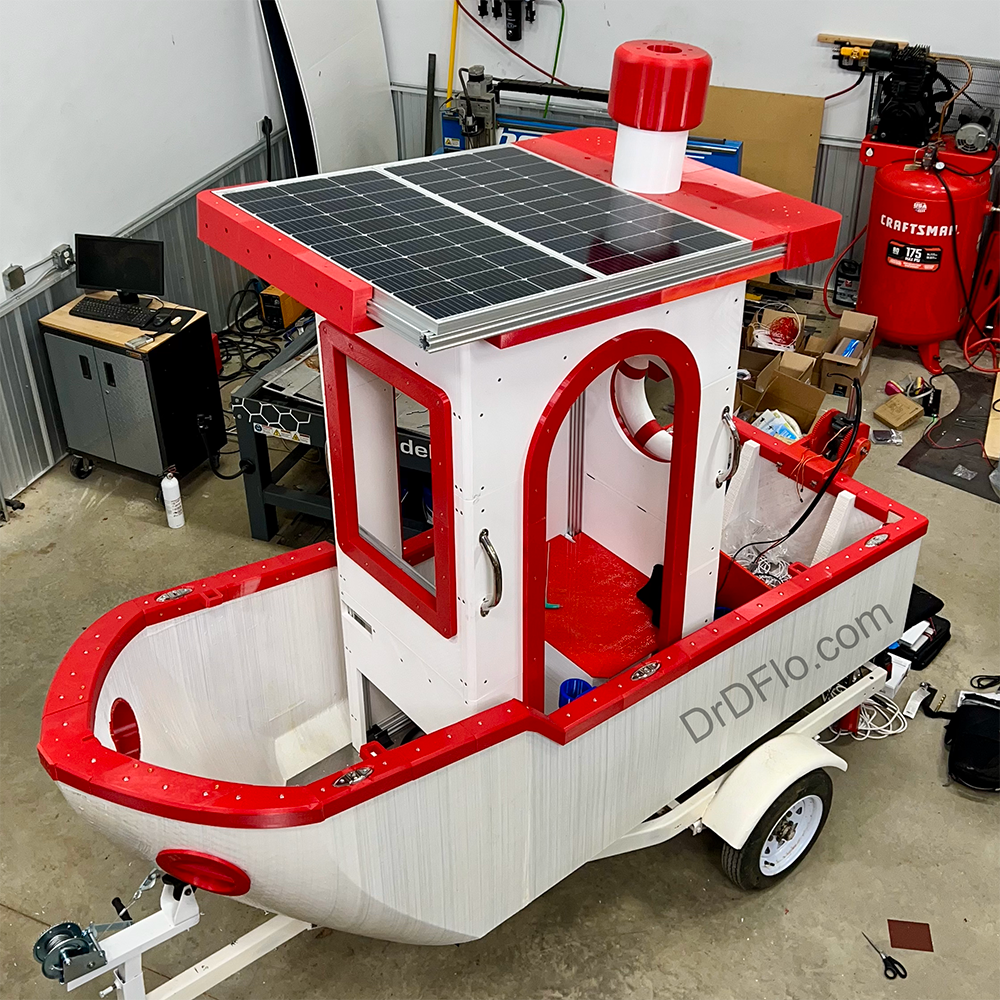
To keep the boat from tipping over with its comically large cabin, the cabin needed to be as lightweight as possible while still being strong enough to withstand wind forces during towing. To achieve this balance, I built an aluminum extrusion frame for structural support and added a plastic veneer for the iconic Benchy look. My pellet extruder printer wasn’t suitable for creating the veneer, as its large layer widths would have added excessive weight. Instead, I used my large filament printer, the Elegoo Orangestorm Giga, to print the cabin sections, allowing for a lighter, more controlled build that maintained the aesthetic while minimizing weight.
Cost and Bill of Materials
Affiliate links may be present below.
Hull Cost
The most common question about this project was how much did it cost? More specifically: is 3D printing a boat cheaper than buying one? Well, you can purchase a plastic 10 ft Jon boat for $800 from a Bass Pro Shops (does not include motor/batteries). Let’s break down the cost of my hull as that is the most direct comparison:
- 600 lbs of recycled PETG pellets - $1,320 (100 lbs were lost due to a misprint shown in the video)
- 5 lbs of white colorant - $200
- 4 gallons of TotalBoat flotation foam - $400
- 1/4” x 48” x 96” aluminum sheet for fastening the 3 hull sections together - $400
- 1 gallon of TotalBoat epoxy - $187
The total cost of the hull was $2,107—about 2.5 times more expensive than a comparable commercial boat. This estimate doesn’t include labor or the operational costs of my large-format 3D printer. As an aside, a Jon boat of similar size would only weigh 85 to 150 pounds, depending on material.
The simple takeaway? 3D printing a boat is far more costly than buying one off the shelf. But there’s more to it: commercial boat manufacturers benefit from significant economies of scale. For a Jon boat manufacturer, producing a single new plastic boat would cost millions in molds and tooling setup, but those costs are spread over hundreds or thousands of boats. 3D printing offers a unique approach without the upfront tooling costs, making it ideal for one-off creations like the PRINTcess.
Cabin Cost
But if that only includes the hull, how much does the cabin cost?
- 100 kg of recycled PETG filament provided by IC3D - $1,800
- 4040 Aluminum extrusion provided by OpenBuilds - $700
- 2x 100W solar panels - $155
- Fog machine for smokestack effect - $40
- 4x Chrome Grab Handles - $68
The total cost of the cabin was $2,763. While it's admittedly a pricey addition, especially considering it actually made the boat less stable, the cabin is the eye-catching feature that gives this project its iconic look. Also, it can be easily removed by unbolting it from the bottom aluminum plate.
Power, Navigation, and Miscellaneous Equipment Cost
Use the dropdown menus to explore the costs of powering the boat, navigating it, and adding those fun touches that highlight the playful spirit of this 3D-printed boat.
- Hull Winch Hook - $10
- 6x Folding Cleats - $120
- Flag Pole - $65
- Lifebuoy - $40
- Deckhand DH 25R for Raising and Lowering Anchor - $250
- Bilge Pump - $50
- Used trailer and upgrades including a new trailer jack, winch, submersible trailer lights, and custom bunks to fit the hull of the boat - $750
:
This equipment added an extra $2,905 to the project. Sure, I could have reduced costs by scaling back, using a single battery, skipping the anchor winch, and so on, but adding these 'extra' features was where I had the most fun.
Total Cost
The final cost of this project was $7,775. While I could have opted for a more practical new boat or a well-equipped used one, the goal here was to push the boundaries of large-format 3D printing and bring the dream of a life-size Benchy to life. From the start, I knew this would be an unprofitable endeavor.
3D Model
While it’s unlikely anyone will attempt this project exactly as I’ve laid it out—due to the need for a large-format 3D printer—I’ve uploaded the CAD model to share in the open-source spirit.
Future Upgrades/Changes
This project was designed as a novelty, and the main goals—to push the limits of large-format 3D printing and to test the full capabilities of my DIY printer—were fully accomplished. However, if I were to print this boat again, there are a few changes and upgrades I would consider. Here are some adjustments that could improve stability, durability, and overall performance:
- Integrated keel: My biggest oversight was not incorporating a keel from the beginning. Contrary to popular YouTube comments, I did test several scale-model prototypes in my bathtub to assess stability. I estimated that the full-scale hull would weigh around 600 lbs—6 to 8 times heavier than a similarly sized Jon boat. This weight should have kept the mass close to the waterline and counterbalanced the cabin’s height. However, in real life, the draft wasn’t as deep as it was in the bathtub, which left the cabin sitting higher above the waterline than expected. A straightforward solution would have been to print a hollow space in the hull to be filled with heavy materials as needed. Although bolting the keel after the fact worked reasonably well, an integrated keel would have made the project look more planned and cohesive.
License: This project is licensed under BY-NC-SA 4.0. Users are allowed to adapt and remix the work but all contributions must be distributed under the same license as the original (e.g., noncommerical). The base 3D model cannot be redistributed, but modifications that unlock new features or significantly improve the base function of the printer can be shared. For any questions on this license please contact Dr. D-Flo.
Open-Source Content
Dr. D-Flo’s #1 priority is ensuring uninterrupted access to his digital fabrication content for everyone. Information and project files are free without any intrusive advertisements. The goal of this website and YouTube channel is to inspire more makers, DIYers, machinists, fabricators, and engineers as we need physical solutions for many of the problems facing our society.
If you find yourself in a position to contribute, we would greatly appreciate your support through becoming a YouTube channel member, a one-time donation, or purchasing your tools through Dr. D-Flo’s Amazon store.
Discussion and Feedback
Do you need more help? The best way to get your questions answered by Dr. D-Flo and other DIYers is to post a question on the forum. Click here for the forum topic specific to this project.
Rate this Project: or
Did you encounter broken links or misinformation while reading this article? Please bring these issues to our attention by providing your feedback below. This forum and email should not used for technical help. All help requests should be posted on the forum.
